Existing member? Log in and continue learning

See if you like it, start the course for free!

Unlock full course by purchasing a membership
Creating your first Angular application
Creating your first Angular application
Let’s jump straight into the action now. We are going to loop back soon and start building a solid foundation of the fundamental Angular concepts, but to get started, we are just going to jump right into generating a new Angular application.
This should help give some context to the topics we are going to be talking about soon, and if you want, you can use this application to poke around and try things as we talk about them. Don’t worry about breaking things, just experiment and have fun – we will be deleting this application anyway and you can always just generate a new one. Better to break the app than to be too afraid to touch it!
ng newThis will prompt you with some options about how you want to create your Angular application. You can choose whatever suits you best, and these options may change over time, but here is what I used for this particular example:
❯ ng new? What name would you like to use for the new workspace and initial project? my-app? Which stylesheet format would you like to use? CSS? Do you want to enable Server-Side Rendering (SSR) and Static Site Generation (SSG/Prerendering)? NoAn important distinction here is the difference between Server Side Rendering, Static Site Generation, and a Single Page Application. By saying no, we will generate a standard single page application which is what we will focus on in this course. But, for some context, this is briefly what these terms mean:
- Single Page Application: The entire application is loaded on the client, and a single page is loaded. The appearance of navigating throughout the application is controlled dynamically through JavaScript on the client
- Server Side Rendering: Rather than delivering the app entirely to the client, the app will run on an external server. Requests for pages can be made to that server, the server will render that page, and then deliver it to the client
- Static Site Generation: The application is built once to create many different static pages, and then these pages are loaded directly from a server (rather than being generated by the server on the fly)
I wouldn’t worry about the distinctions between these different approaches too much right now — there are subtle differences that may become relevant to you depending on exactly what you want to do, but all three approaches require learning the same basic Angular concepts.
As you become more familiar with the Angular CLI and its options, you might choose not to use the default interactive prompts and just create the application directly. For example, I create most of my applications with this command:
ng new my-app --defaults --style=scss --standalone --routing --inline-template --inline-styleThe Angular CLI has many different options you can use through these -- flags.
This allows you to quickly create an Angular application scaffolded in the way
you want. For example, I like to use SCSS, Standalone components, I want
routing set up by default, I want to use inline templates and inline styles. Again, don’t worry too much about this now — we will dive more into the
specific architectures we will be using later.
After waiting a little bit, you should now have a successfully generated Angular application.
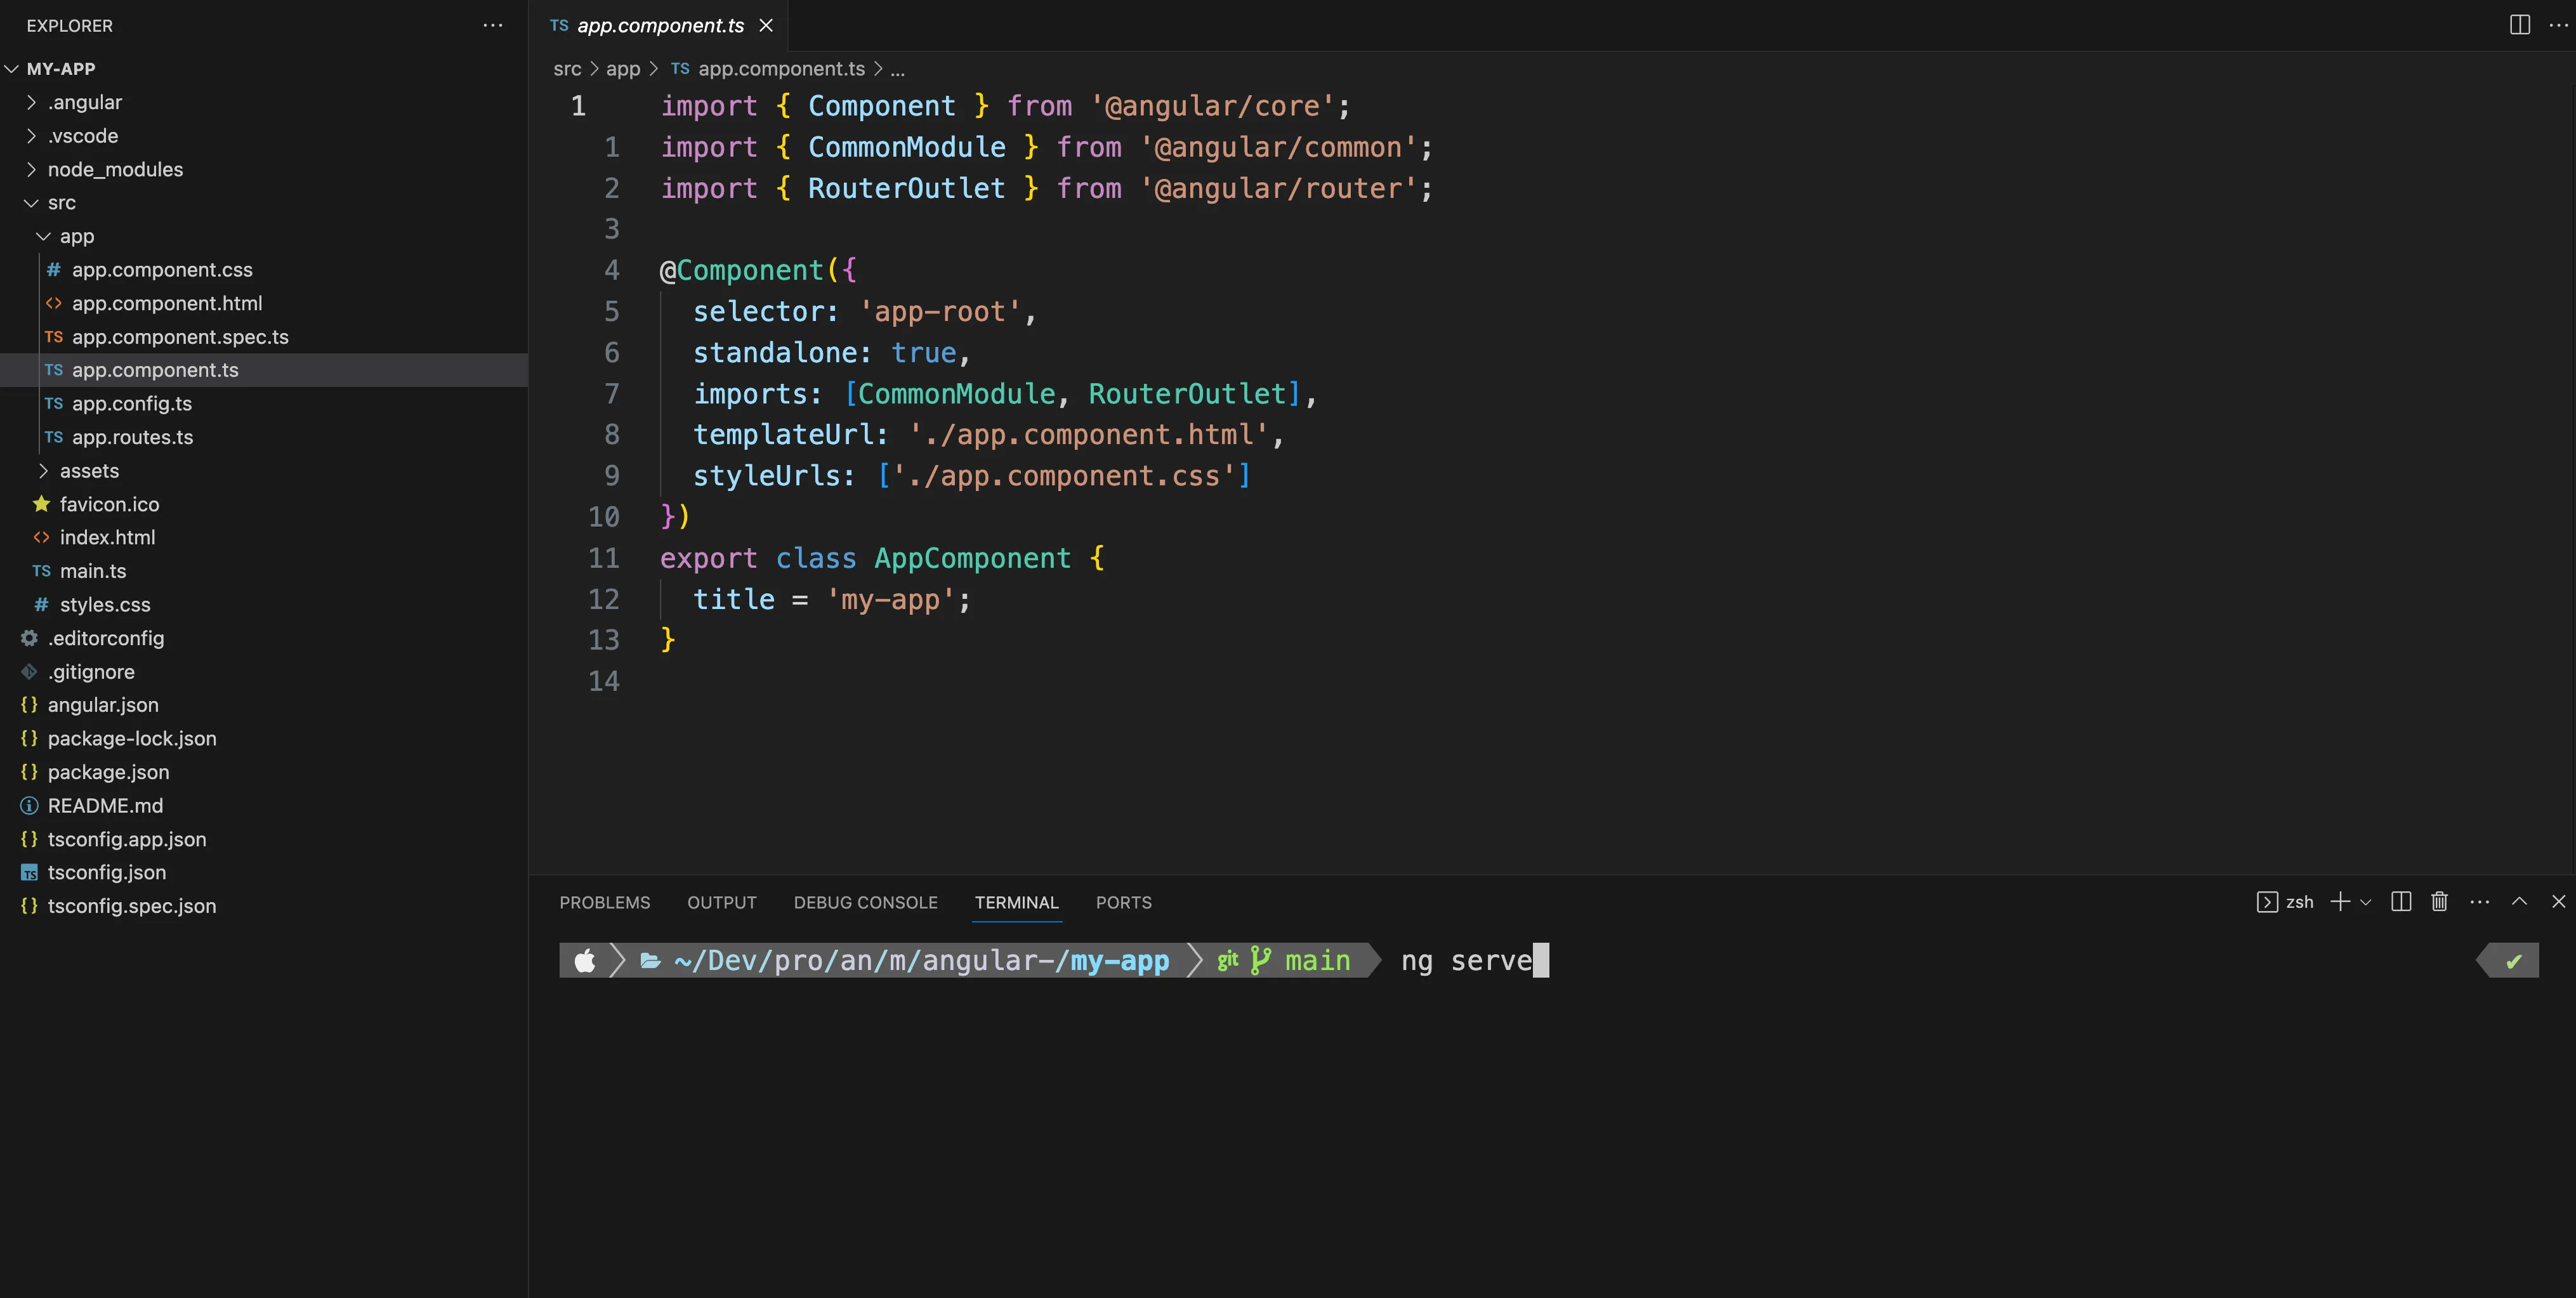
You can now open this newly generated project in a text editor or IDE of your
choice. If you are using Visual Studio Code as we discussed in the last
module, and have also enabled the code command, then you will be able to
quickly open this newly generated project in VS Code by running the following
command:
code my-appThen you can go to Terminal > New Terminal or hit Cmd+J to open a new
terminal within VS Code. Now you can both edit your code and run commands all
from the same window.

Open your newly generated project in a text editor/IDE
Serve your application in the browser by running the following command from within the project:
ng serveYou should be able to see the application running in the browser if you go to
http://localhost:4200 (after the ng serve command has finished):
The default application has a bunch of resources and links built in it to help you get started and learn (when you are building your own application you would first delete all of this stuff).
In the next lesson, we are going to talk a little bit about the general structure of what we are seeing in this project. But first, just have a bit of a poke around yourself. See if you can change what you are seeing served in the browser.
Maybe you could try deleting all of the default resources and links and adding something of your own to the template instead.
We are going to discuss the files in the project in just a moment — but perhaps you might also want to just click around on the various files in the project now. See if you can make sense of any of them, or make a note of anything that seems particularly weird. The more context you have when we start discussing it the better.