Existing member? Log in and continue learning

See if you like it, start the course for free!

Unlock full course by purchasing a membership
Working with Components in Angular
Working with Components in Angular
We discussed a bunch of different decorators in the last lesson, but the
decorator that we will be using far more than any other is the @Component
decorator to create custom components. We are going to spend this lesson
discussing some core concepts of working with components.
We can think of components as the fundamental building blocks of an Angular application. We have had a glimpse of this already — our entire application is built of components within components within components.
A Basic Component
We have already built some basic components that look like this:
import { Component } from '@angular/core';
@Component({  selector: 'app-welcome',  template: ` <p>Hi, Josh!</p> `,})export class WelcomeComponent {}
and these components can then be added to another components template like this:
import { Component } from '@angular/core';import { WelcomeComponent } from './ui/welcome.component';
@Component({  selector: 'app-home',  template: `    <app-welcome />    <p>I am the home component</p>  `,  imports: [WelcomeComponent]})export class HomeComponent {}
or they can be routed to and displayed with a <router-outlet>.
This example is about as basic as a component will get. The reason we might create a component like this is just to help modularise our application — all we are really doing is displaying a template and binding some simple data. We will talk more about architecture concepts later, but the general idea is that it is better to have lots of components each doing some small/targeted thing, rather than having components that try to do too much.
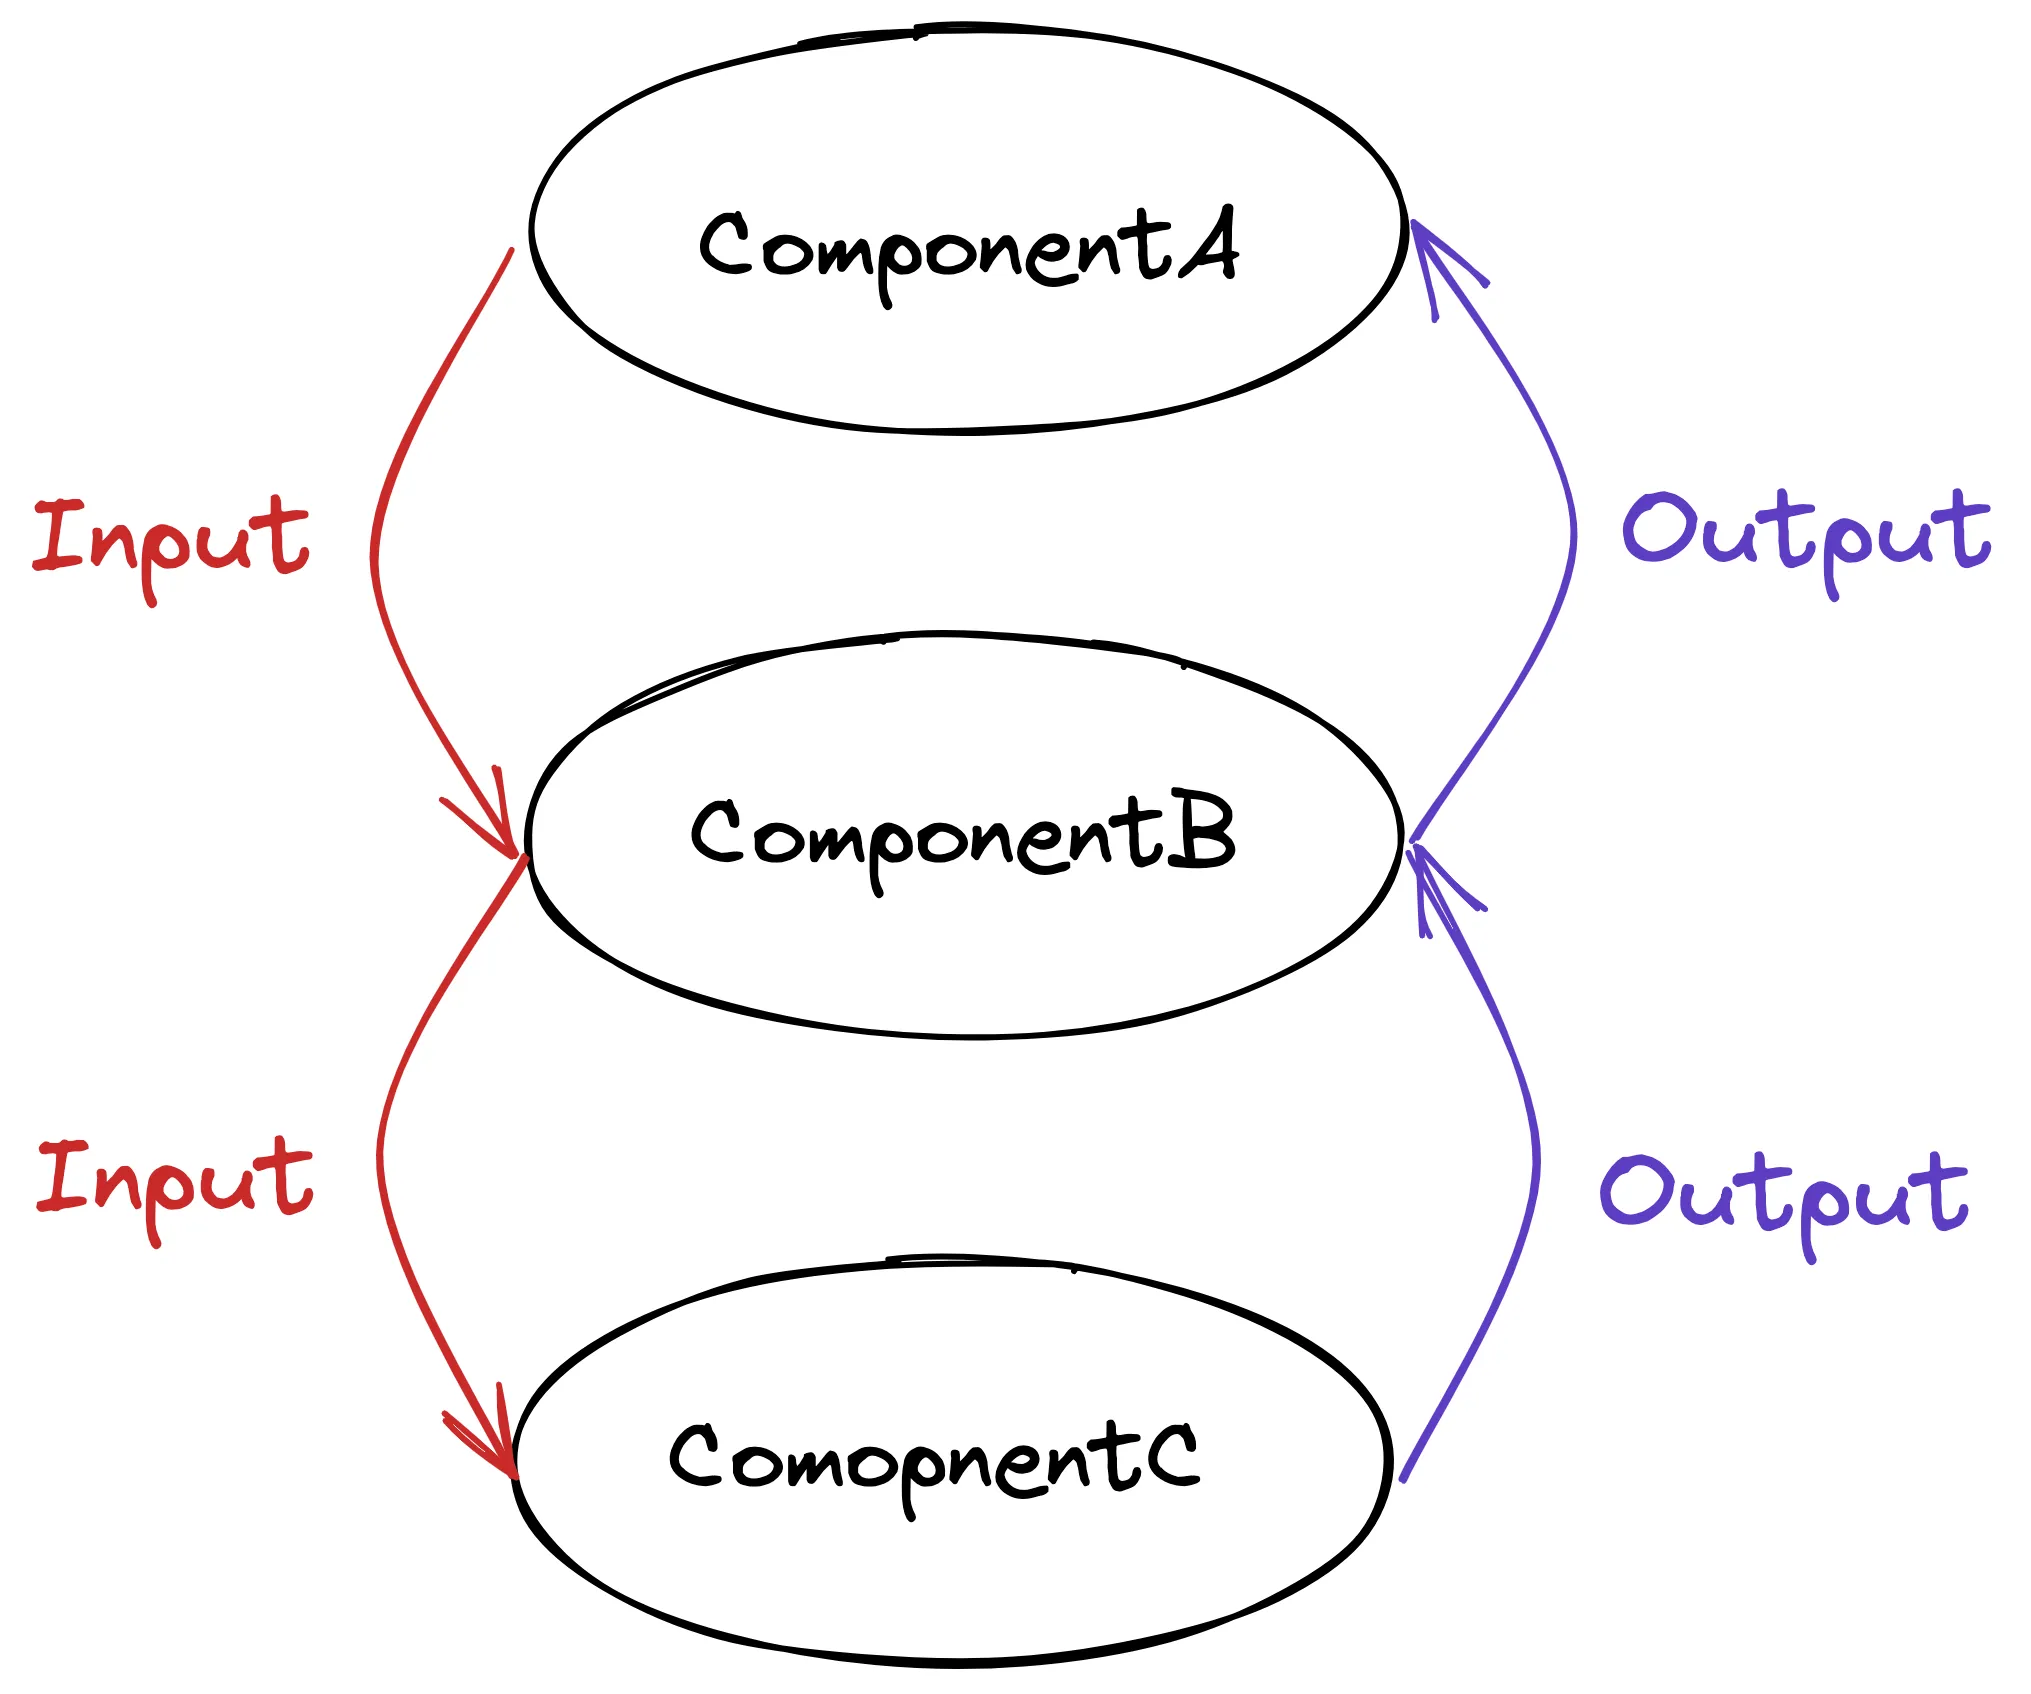
However, there are two fundamental concepts of Angular components we are missing here that help control how parent and child components relate to each other: input and output.
If we put ComponentB inside of the template of ComponentA:
@Component({ selector: 'component-a', template: `<component-b></component-b>`})export class ComponentA {}Then we would say that ComponentA is the parent and ComponentB is the
child. The key idea is that a parent component can communicate with
a child component by providing it with an input. A child component
can communicate with a parent component by providing it with an output.

Let’s investigate how inputs and outputs work in more detail.
input and @Input
This is one of those features that can be implemented in both the new signal
based way, or in the “old” way which was based on decorators. We will look at an
example of both.
We are going to switch back to the more real example of our WelcomeComponent
which currently lives within the template of the HomeComponent.
Now let’s imagine that we want to display a greeting for a particular user’s
name, not just Josh. As we will discuss later, we generally don’t want our
child/dumb components to have to deal with any complex business logic or data
fetching. So, what we might want to do is have our parent component provide
the child component with an input so that it knows what name to display:
import { Component } from '@angular/core';import { WelcomeComponent } from './ui/welcome.component';
@Component({  selector: 'app-home',  template: `    <app-welcome [name]="user.name" />    <p>I am the home component</p>  `,  imports: [WelcomeComponent],})export class HomeComponent {  user = {    name: 'Josh',  };}
We are still just using a static value of Josh here, but imagine that our
HomeComponent might pull this user value in from some kind of UserService
that will return the logged in user.
At the moment, this will just cause an error:
error NG8002: Can't bind to 'name' since it isn't a known property of 'app-welcome'.In order to accept this input, we will need to make some changes to the
WelcomeComponent. First, let’s take a look at the “old” way of doing that:
import { Component, Input } from '@angular/core';
@Component({  selector: 'app-welcome',  template: ` <p>Hi, {{ name }}!</p> `,})export class WelcomeComponent {  @Input() name = 'friend';}
We have set up a class member called name but we are also decorating this
with the @Input decorator. This tells Angular that this class member is an
input, and it will allow our parent component to bind to the value. The
error should be gone now.
With the input set up, our WelcomeComponent can now just treat this input like a normal value:
<p>Hi, {{ name }}!</p>If the parent component changes this input, then our child component will
automatically reflect that change. If we don’t provide any name input to the
component, e.g:
@Component({ selector: 'app-home', template: ` <app-welcome></app-welcome> <p>I am the home component</p> `,})Then our child component will use the default value we supplied, which was
friend, e.g:
Hi, friend!Now let’s see how we would approach this with the new signal based approach.
There are just a few minor differences, first we would define the input like
this:
import { Component, input } from '@angular/core';
@Component({ selector: 'app-welcome', template: ` <p>Hi, {{ name() }}!</p> `,})export class WelcomeComponent { name = input('friend');}Thanks for checking out the preview of this lesson!
You do not have the appropriate membership to view the full lesson. If you would like full access to this module you can view membership options (or log in if you are already have an appropriate membership).